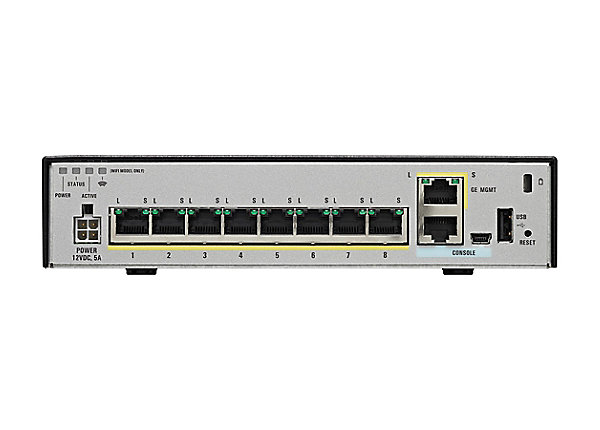
This article explains How to Configure Port Forwarding on Cisco ASA and the outside Network Address Translation (NAT) features in the Adaptive Security Appliance (ASA) Software Version 9.x and up, with the use of the CLI.
How to Configure Port Forwarding on Cisco ASA
Knowing How to Configure Port Forwarding on Cisco ASA helps with many scenarios where there is the need for the access to internal systems like CCTV or even some system for administration through the Public Cloud. Care should be taken when implementing Port Forwarding through the Public Cloud to Internal Systems. VPN is always a secured way but if you do need to Configure Port Forwarding on Cisco ASA for a CCTV system which is needed in the Public Domain then this article will surely come in handy.
How to Configure Port Forwarding on Cisco ASA LAB
Pre-Requisites Configure DNS and DHCP Scope for Private Network
!
dhcpd address 192.168.1.100-192.168.1.200 privatenetwork
dhcpd dns 213.120.234.22 213.120.234.34 interface privatenetwork
dhcpd enable privatenetwork
!
Step 1 Configure Inside Network
!
interface GigabitEthernet1/1
 description "Inside Network LAN Interface"
 nameif privatenetwork<
 security-level 100
 ip address 192.168.1.1 255.255.255.0
!
Step 2 Configure Outside Network
!
interface GigabitEthernet1/8
 nameif outside
 security-level 0
 ip address 213.200.44.1 255.255.255.252
!
Configure Network Address Translation
nat (privatenetwork,outside) dynamic interface
Step 3 Configure Network Address Objects
object network LAN-AP
host 192.168.1.100

object network LAN-LTP
host 192.168.1.102
Step 4 Configure Port Forwarding
object network LAN-AP
nat (privatenetwork,outside) static interface service tcp www 8080

object network LAN-LTP
 nat (privatenetwork,outside) static interface service tcp 3389 8090
Step 5 Configure Access List
access-list inbound extended permit tcp any object LAN-AP eq www
access-list inbound extended permit tcp any object LAN-LTP eq 3389
Step 7 Apply Access List on Interface
access-group inbound in interface outside
Step 7 Test Access List
packet-tracer input inside tcp 192.168.0.100 80 213.200.44.1 80
packet-tracer input inside tcp 192.168.0.102 3389 213.200.44.1 8090
You May Also Like:
How to Configure NAT on Cisco and VyOS
Cisco Has an Extensive Resource on the Subject:
Other Port Forwarding Applications

