Why am I Using Python and pyFirmata to Control Arduino Boards on Ubuntu?
So here is the deal, I had a great affinity for Arduino until I fell in love with Python. My life has never been the same again. Aaahhh, do I need to ditch my Ardunio control boards to use a Raspberry Pi instead? How about all the interesting projects I made back then in Arduino? Could I not learn to code them in Python and just use my Python scripts to control them?
Things you’ll need;
- Personal Computer Linux | MAC | Windows with Arduino IDE.
- Arduino Board (I have used the Elegoo Uno Version here)
- USB cable for Arduino.
- Breadboard
- Jumper Wires
- LED Light
- Resistor
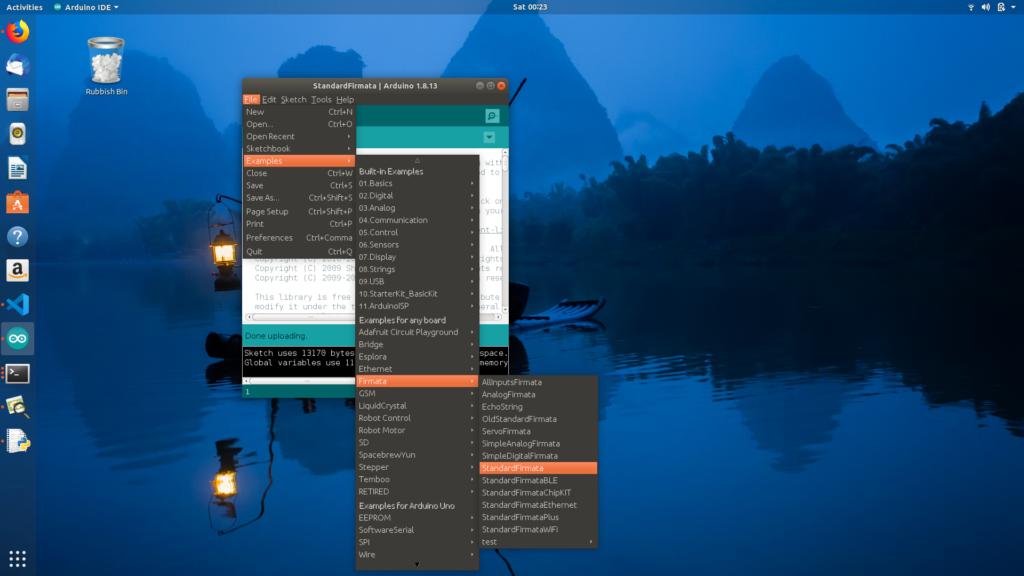
Step 1: Upload Standard Firmata on your Arduino board (Firmata is a serial communication protocol that can control the Arduino’s GPIO)
Files > Examples > Firmata > StandardFirmata (You will only need to upload this once).
What is Firmata
Firmata is an intermediate protocol that connects an embedded system to a host computer, and the protocol channel uses a serial port by default. The Arduino platform is the standard reference implementation for Firmata. The Arduino IDE comes with the support for Firmata.
This could work perfectly with Odyssey-X86 with its onboard Arduino Core meaning that you can control the Arduino Core simply using Firmata protocol with different programming languages too!
The Firmata library implements the Firmata protocol for communicating with software on the host computer. This allows you to write custom firmware without having to create your own protocol and objects for the programming environment that you are using.
To use this library
#include <Firmata.h>
Step 2:
Install PyFirmata on Ubuntu
pip3 install pyfirmata
Step 3:
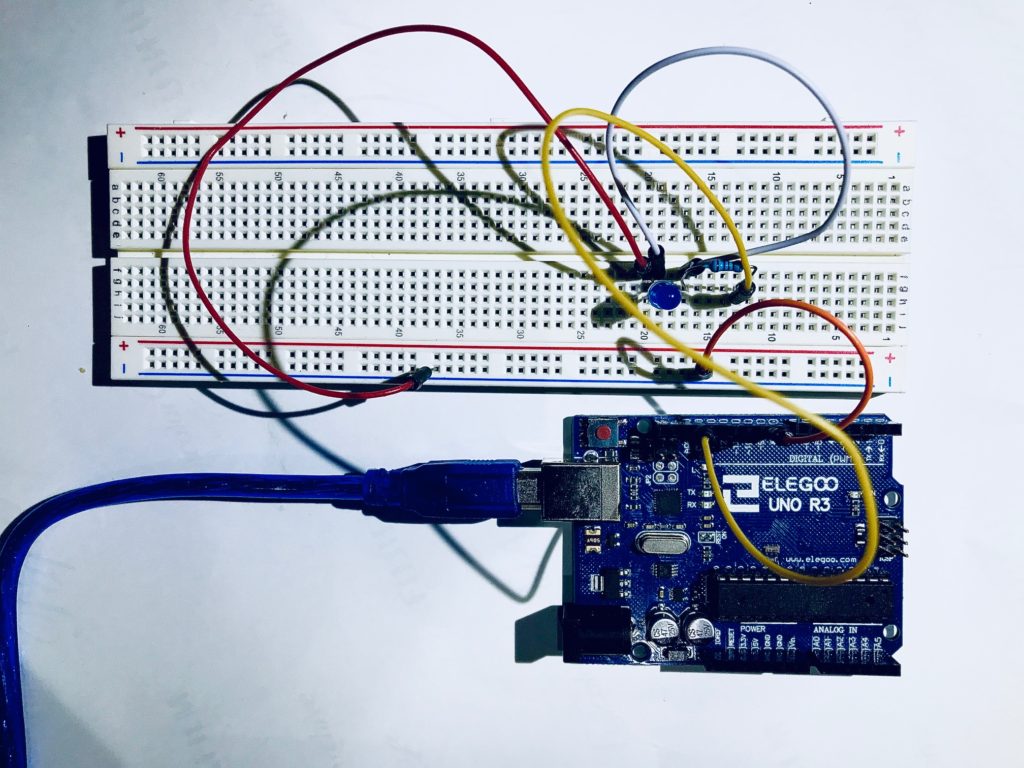
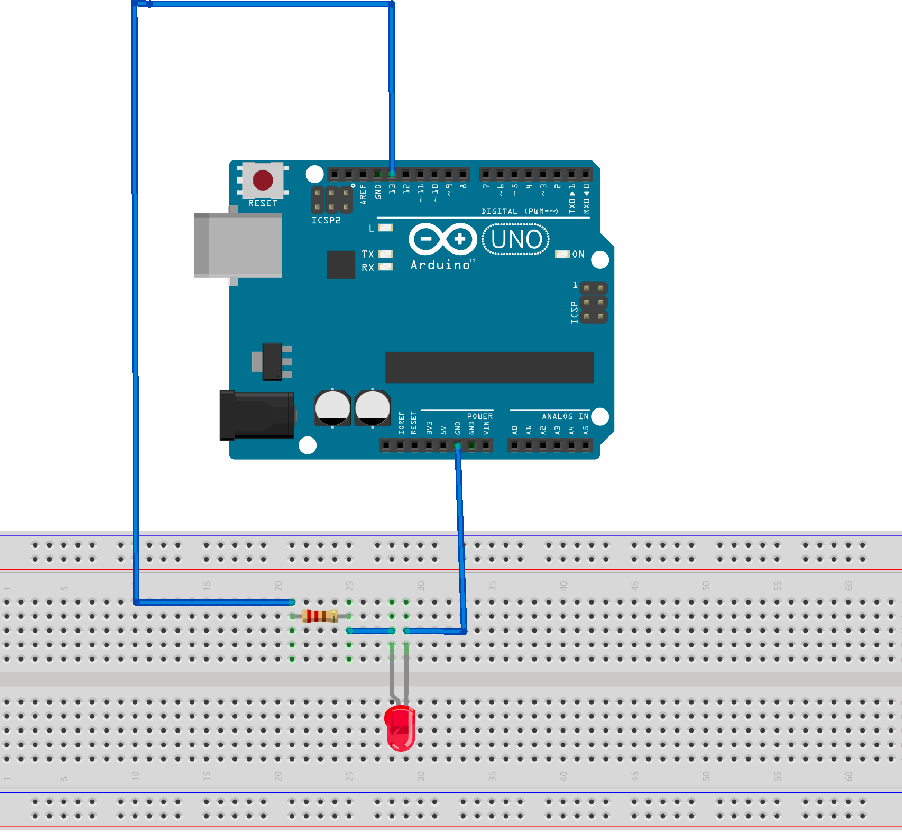
Build your circuit. Roll your sleeves and get your jumper wires, resistor and LED together in a very simple circuit like the one below;
Schematic: How to wire up your circuit
Step 4: Write Your Python Blink LED Program
from pyfirmata import Arduino
import time
if __name__ == '__main__':
    board = Arduino('/dev/ttyACM1')
    print("Communication Successfully Initiated ")
    while True:
        board.digital[13].write(1)
        time.sleep(0.5)
        board.digital[13].write(0)
        time.sleep(0.5)
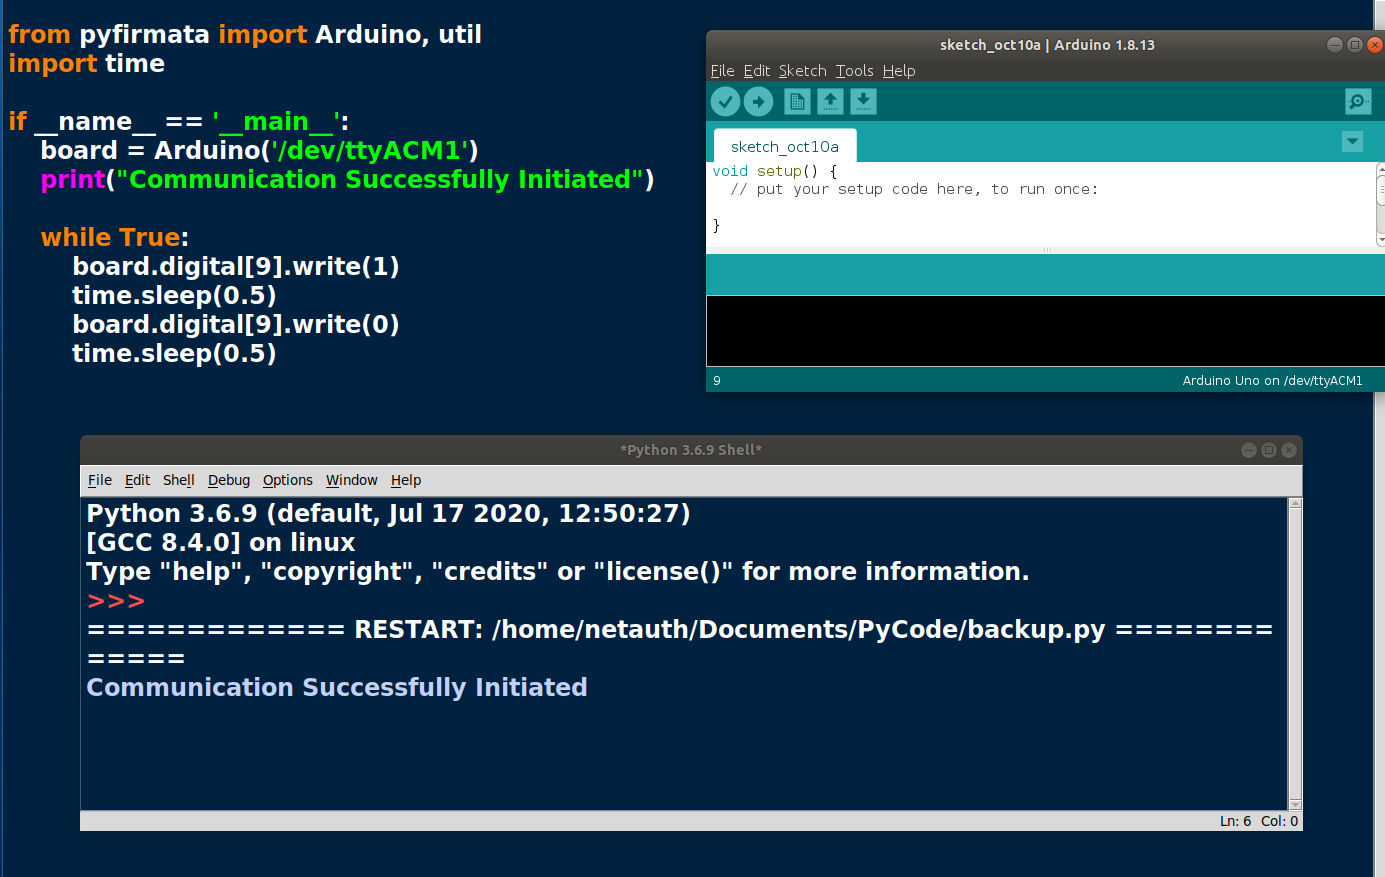
Full Code: Blink LED Python Program
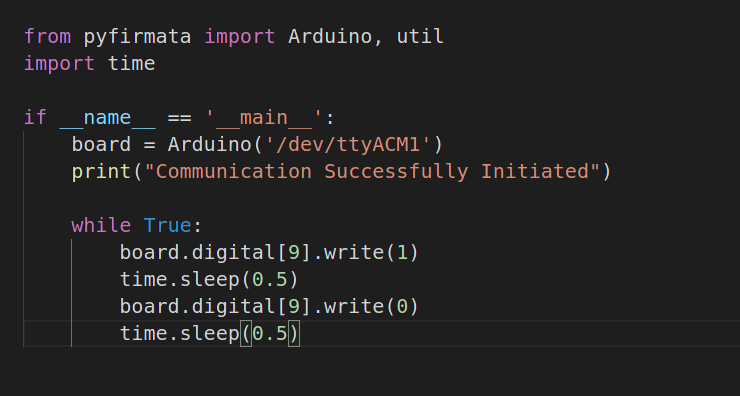
from pyfirmata import Arduino, util

import time
if __name__ == '__main__':
board = Arduino('/dev/ttyACM1')
print("Communication Successfully Initiated")
while True:
board.digital[9].write(1)
time.sleep(0.5)
board.digital[9].write(0)
time.sleep(0.5)
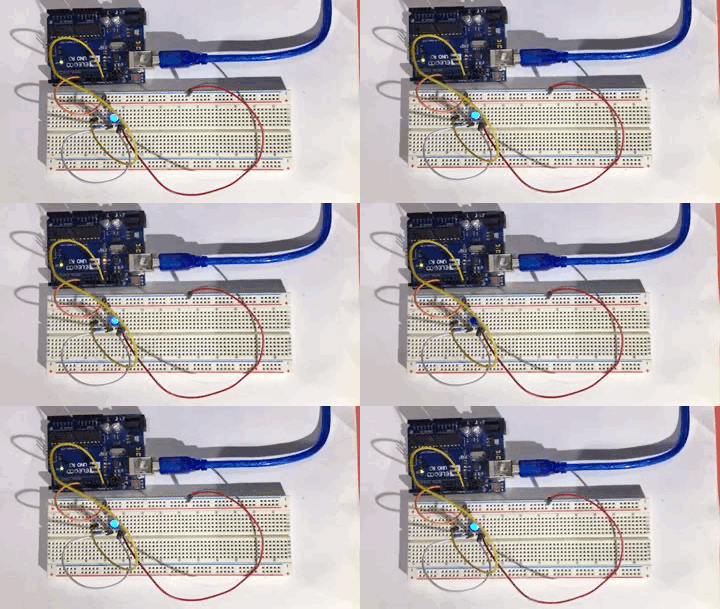
Step 5 Hit Run and see it in action
Troubleshooting
Your USB connection to your Arduino board is disconnected if you see this sudden error;
raise SerialException('write failed: {}'.format(e))
serial.serialutil.SerialException: write failed: [Errno 5] Input/output error
Here you are, a step by step guide to get Python to control your GPIOs on Arduino. Hope this little project helps you on your journey to great electronics?
See more python projects like this fading led light project.
